Okay, so I don't just do cards all the time. I like to dabble in other things too. So here are just a few things I made over the last year or so! If you have any questions about off of the things I have made, don't hesitate to ask me about them.

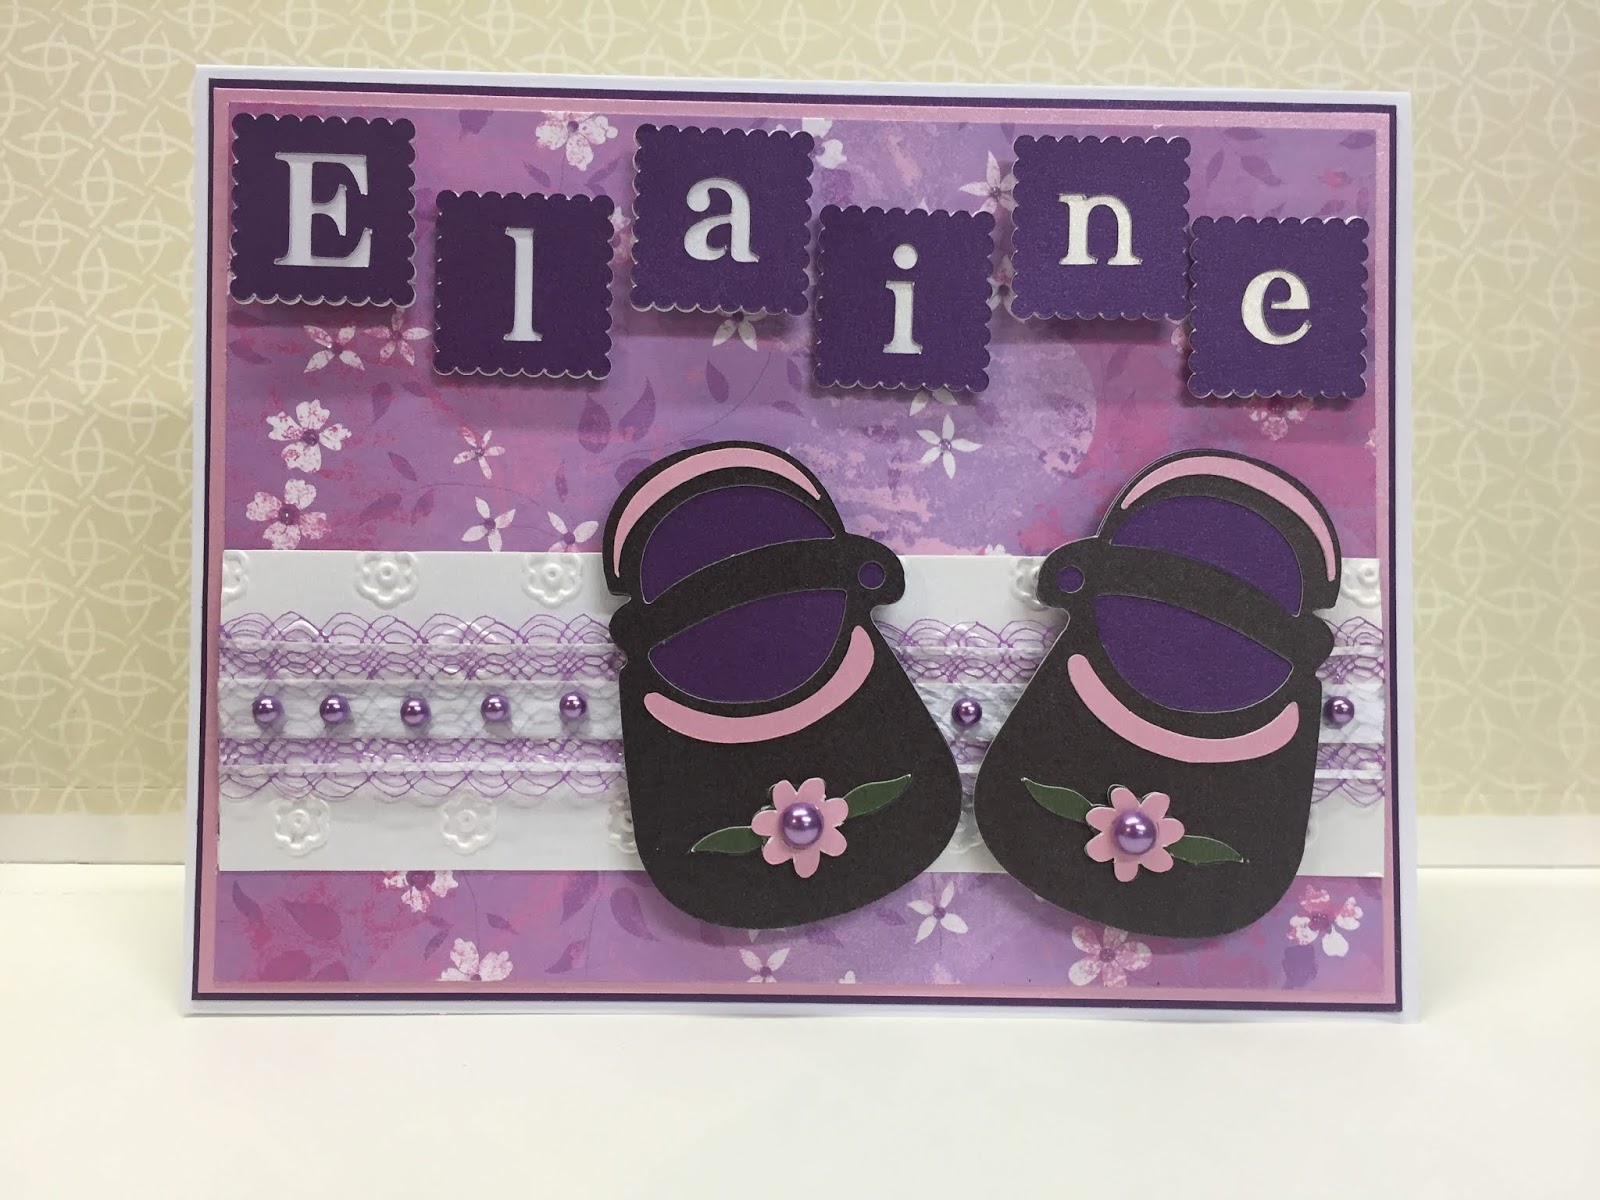
Okay, so things are a little out of order, but this was for my great niece who was born a little over a year ago.

Okay, here is last years Thanksgiving craft that I made about 30 of.
I also made the hot chocolate/chi tea mixes. Everyone loved them!


Here is my new fun way of decorating my kitchen for all the seasons. These are simply tea towels with a little folded down pocket sewn into them for the rod to go thru.


I also too the time to make my own plaid, soft pillows for the Christmas season! I love them and so did everyone else!

Here is one of the my Church's bulletin board that I did. Simple, yet I can leave it up once Christmas is over and it is still very much winter here in NE Ohio!

I missed posting this card, but I made this one for my mom's birthday! Elegant and fancy!

So this past Christmas I had the joy of hosting and decorating two tables at a Ladies Christmas Gala and these little hot chocolate packets were what I gave to all the ladies that were at my tables!


It was a beautiful evening of wonderful food and fellowship and worship.
They sure know how to make the ladies feel so special and valued.

Here is craft I did for all the adult women folk in our families! My daughter was kind enough to paint the background on the canvas's for me. Each person's was personalized with their family last name and designed on my Cricut Explore and then cut out in vinyl and then put onto the painted canvas. I think they turned out pretty cute!


These fun wreath's were made for Mother's day for our mom's! They really seemed to like and enjoy them! The dad's saw them as useful once the flowers and such fade and they can have the hose to use later on. LOL


So my son went on 2 missions trips this year, one to Florida, in the spring(his older sister got to go on this one too) to help a church camp get ready for their summer camps and then his big one was later on to Romania. He had never flown before so the Florida trip was perfect for him to experience it all before he went on the bigger, longer trip out of the country! So he was worried about loosing and not having a easy time recognizing his luggage in the air port, so we put his "Blacksmith logo" onto his suitcases, with permanent vinyl. For the most part it survived both trips. There was a little damage after the second trip, but they still help up pretty good, considering what they had gone thru.

I have ALWAYS wanted to make a paper straw wreath, and has taken me a few years to collect the straw to make this! Very simple to make with lots of layering of straws and such! Everyone really enjoyed it and so did I!

Okay here is my current fall tea towel curtains in my kitchen! I love how it makes the room that is the hardest to be able to decorate more festive for each season! I also have ones that I made for the Spring/Easter season but I forgot to take pictures of them. So simple to sew and get quick results!
Well I think I am all caught up...I am sure there is things that I have missed over the past year of lots of projects and such. And now I am heading into my busy time of year for card making a crafts, so we shall see how I do on keeping you all up to date on all of it.
Anyways, thank you all for following me and I hope you have fantastic kind of day!


